

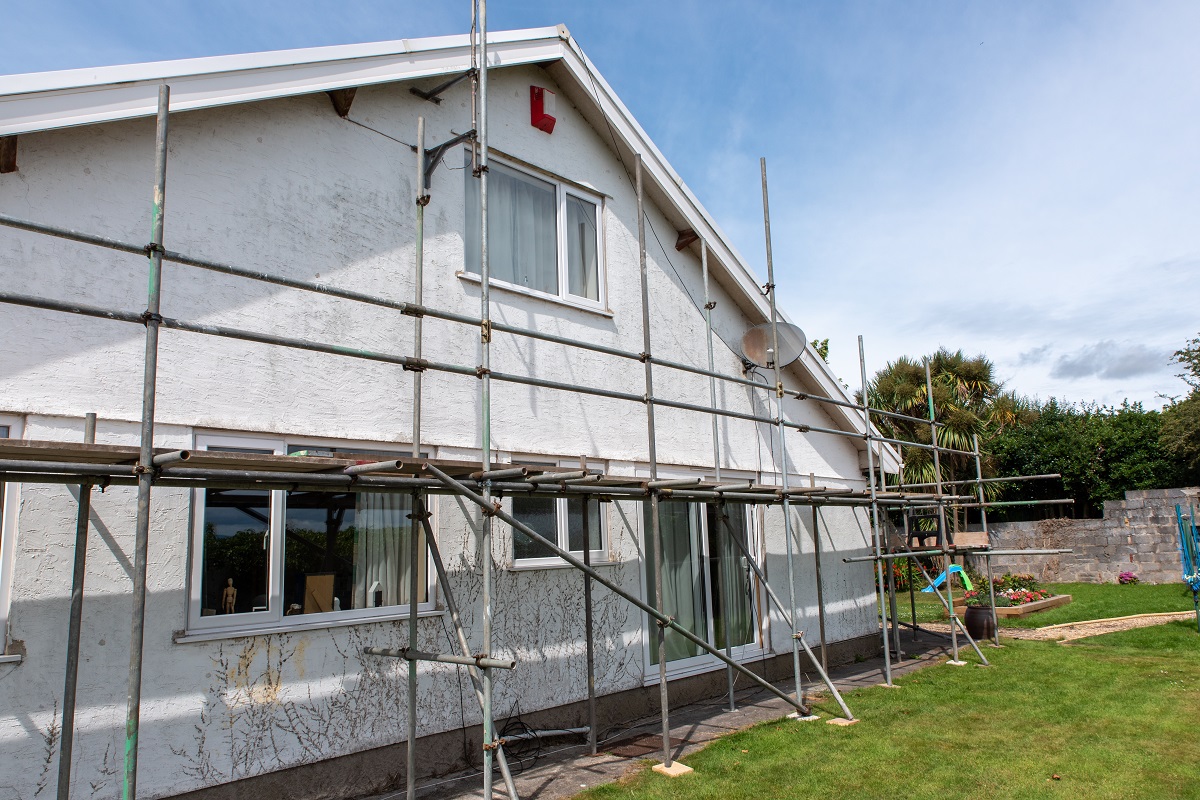
If you want to ensure that your building is properly protected from the elements, then it is important to repair any damage to the external structure as soon as it occurs. The outside walls of our homes are our front-line defences and need to be well maintained. Render repair is extremely important and vital in keeping your home warm, dry and protected.
What is Render?
Render is a coating that is applied over external walls for an extra layer of protection. They come in many different forms depending on the style of home, including textured roughcast or pebbledash or smooth stucco or plain render.
Traditionally rendering like stucco was a way of covering up cheaper brickwork in old Georgian homes, and was used to look like more expensive stonework, but it also protects the home.
Are my Walls Cavity or Solid?
When considering repairing cracks and defects on the outside of your home, it is important to work out whether your walls are cavity or solid. Wall repairs vary depending on the type of walls that you have so make sure that you survey your walls to find what materials they are made of.
Most modern houses have cavity walls as cavity construction began to replace solid brick and stone walls in the 1930s. If your home was built after World War II, then your walls are most likely to be a twin leaf construction with a cavity in between. There will probably be an inner leaf that is load-bearing, which will be masonry or panel timber frame. The outer walls of this construction will be brick, blockwork which is rendered, or stone.
How to Render Repair
As we have previously mentioned, it is important to repair your rendering as soon as you notice any flaws in the surface. If you do not, the surface will become neglected and develop serious flaws that can lead to expensive problems in your home. If you have rendering on your house, it is important to keep an eye out for significant cracking or bulging in the render as this would need repairing quickly. Additionally, if you have patches of render that have fallen off, this will also need to be replaced.
If you have smaller cracks in your render that look like hairline cracks, this is less serious as this tends to happen over time. The render moves with the walls behind it, so if there are some small structural movements, this can lead to smaller cracks. Larger cracks however are of great concern and should be looked at immediately.
When considering which material to use to render with, it is important to know what material is currently being used. If you are looking for a small patch repair, it is important to match materials. If you are looking to take down your current rendering and replacing it entirely, you can choose a modern rendering material. Traditional lime rendering is more flexible than modern cement which can crack easily. If you have older buildings that have solid walls, then you should be using lime render as cement render should not be applied to solid walls.
Tools for Rendering
Before you start repairing your render, it is important that you have the correct tools to complete the job properly. Firstly, it is important to consider your safety – ensure that you are wearing safety goggles to protect your eyes and gloves to protect your skin. Below is a list of tools that you may require, although each job is different so this list is not exhaustive.
- Cold chisel
- Short-handled sledgehammer
- Premixed render or render patching compound
- Plywood to put your mix on to move it to the job
- Mason’s trowel
- Straight-edged board
- Finishing tool (if you wish to duplicate the texture of the surrounding render)
You may also need a ladder if you are looking to render an area of your home that is located higher up.
How To Apply Render
When applying render, it is recommended that you apply it in two layers. The strength of each layer varies depending on the type of stone or brick that it is attaching itself to. The strength of the render can be changed by altering the ratio of sand to the cement powder or lime.
For local repairs, you will first need to remove any loose or cracked pieces of render. This will leave a bare wall underneath it. Make sure that you dry this out completely before applying a new render.
Next, it is important to repair the steel mesh reinforcement underneath if it is also damaged. If you need to repair this, simply cut a piece of mesh to size and attach it to your wall with galvanised nails.
After it is dry, the new render can be applied and smoothed out with your trowel. Try completing this when it is dry outside to get a better finish. Make sure that the render is level with the existing layer for a smooth finish. If your render has a texture to it, use your finishing tool to replicate the texture when the render is still wet.
If you are wanting to repair a large surface, or replace your render altogether, it may be worth contacting a professional as this is a skilled job.
If you are simply wanting to patch up your render over a smaller area, this is simpler and could be done at home, however, most DIY repairs will be noticeable as it is difficult to patch up render so that it looks invisible. If you are looking for the perfect finish, it may still be worth contacting an expert.
How Much Does It Cost To Repair Render?
It is difficult to put an exact cost on repairing render, as each case will be different. If you are looking to simply repair a small patch of render, an area of up to 0.5m² will cost about £75, although this will vary depending on where you are located.
If you are needing more work done, such as taking off old render, taking out the joints, cleaning the walls and then applying new render to a masonry wall – this will cost around £68 per m², with costs adding up if you have a large surface area. While this may be pricy, the cost of leaving your render to become more damage may lead to further, more expensive repairs further down the line.
Conclusion
Rendering your home can be a difficult process but is vital to ensure that your home is protected. We hope our tips will help you complete the process, but if in doubt, ask for professional advice to make sure your home is safe and secure.


